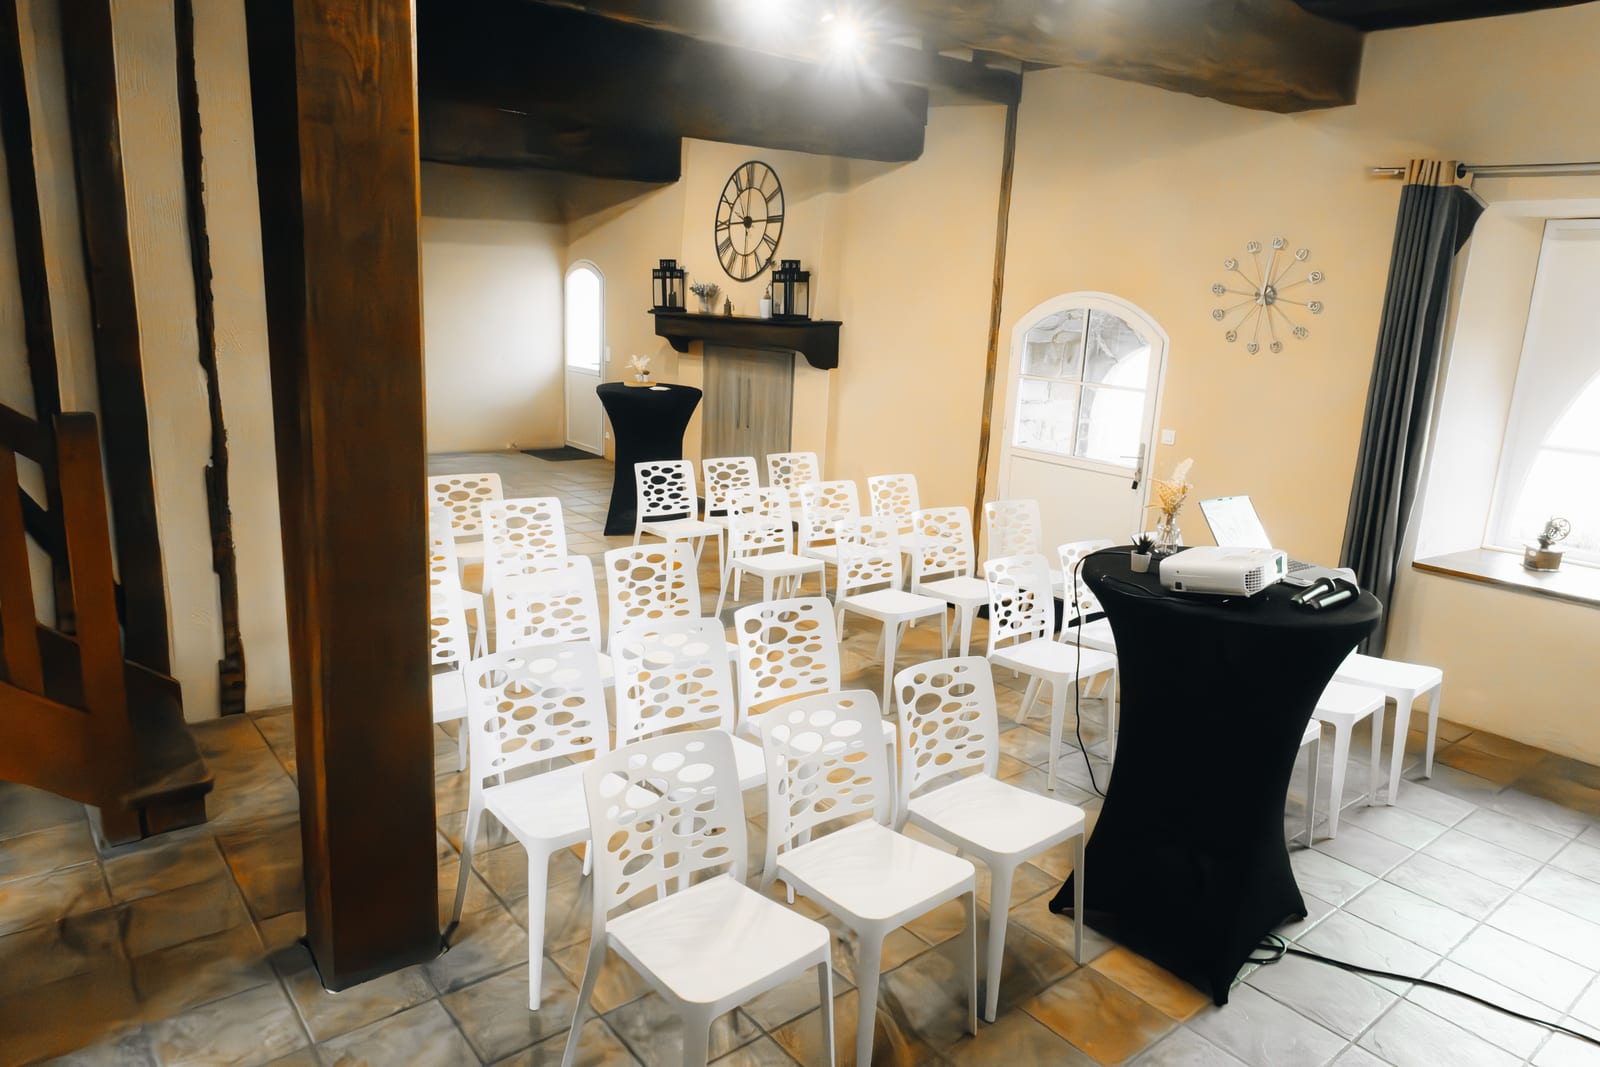
Reserved seating event software lets you assign every attendee a specific seat before they arrive, so a gala, awards dinner, theatre night or conference plenary runs on a plan rather than a scrum at the door. If you have ever watched guests circle a ballroom looking for their name while the starters go cold, you already understand the problem this solves. This guide walks through how to set up reserved seating for your event, step by step, without needing a degree in venue cartography.
The short version: you build a digital map of your venue, decide which seats cost what, let buyers pick their spot at checkout, and hold back a chunk of seats for the people who always need looking after (sponsors, press, accessibility, that one board member who will not sit at the back). Do it well and seating stops being a source of dread and becomes a quiet flex.
Reserved seating vs general admission: which do you actually need?
Before you build anything, decide whether you need assigned seats at all. General admission (GA) means first come, first served: sell a number of tickets, let people sit where they like. Reserved seating means each ticket maps to a specific seat. GA is simpler and perfect for standing gigs, casual meetups and anything where nobody expects a place card. Reserved seating earns its keep the moment seat quality varies or people expect to be placed.
| Format | Best for | Watch out for |
|---|---|---|
| General admission | Standing gigs, casual meetups, festivals, free community events | Front-row scramble; no way to seat VIPs together |
| Reserved seating | Galas, awards dinners, theatre, banquets, ticketed conferences | More setup; needs a platform that handles holds cleanly |
| Hybrid (some reserved, some GA) | Events with a premium tier plus a general floor | Clear signage so GA guests do not sit in reserved seats |
If seat location changes the experience or the price, or if you are seating people at tables, reserved seating is worth the extra setup. If it genuinely does not matter where anyone sits, do not create work for yourself: GA is the honest choice.
Reserved seating is not about control for its own sake. It is about never making a paying guest wonder whether they belong at the table.
How to set up reserved seating, step by step
Step 1: Build your seating chart
Everything starts with a map of the room. Good reserved seating software gives you a drag-and-drop chart builder so you can recreate your venue: rows and seats for a theatre layout, or round tables with a set number of covers for a banquet. You place sections, number the rows, and drop in seats until the screen looks like the room. Many platforms will also build the chart for you from a floor plan if you would rather send a PDF than push pixels around (TicketSpice). Either way, the goal is a chart that matches reality, because the day-of confusion comes from a map that says row F has twelve seats when the room says ten.
Step 2: Set your pricing tiers
Once the map exists, decide what each part of it costs. Reserved seating platforms let you set unlimited pricing tiers and assign them to any seat, row or section (ThunderTix). Front and centre becomes your premium tier, the sides and back become standard, and a gala might price whole tables rather than individual chairs. This is where reserved seating pays for itself: you can charge what a good seat is actually worth instead of flat-pricing the entire room and hoping.
Step 3: Turn on seat holds for checkout
This is the step that quietly prevents chaos. When a buyer selects a seat, the software should hold it for them while they complete payment, then release it back to the pool if they do not finish in time. Without this, two people can pick seat A12 at the same moment and one of them gets a very awkward email later. Proper seat-hold logic shows every seat as available, in someone's cart, or sold, in real time, so the map is always telling the truth (Big Tickets). Set a sensible timeout: long enough for someone to find their card, short enough that abandoned carts do not lock up your best seats for an hour.
Run the Whole Event From One Platform
Ticketing, registration, promotions and check-in together, so the plan and the tools finally match.
Step 4: Hold back inventory for the people who need it
Almost every seated event needs to reserve a portion of the room before tickets go public: press, sponsors, accessibility seating, performers' guests, season ticket holders, and the VIPs who must be seated together. Reserved seating software handles this with holds you control, often via a special link that lets a specific guest claim a held seat, with an expiry date so unclaimed holds return to general sale (Agile Ticketing). Map these out before you open sales. It is far easier to release a held seat later than to prise a sold one back from a delighted attendee.
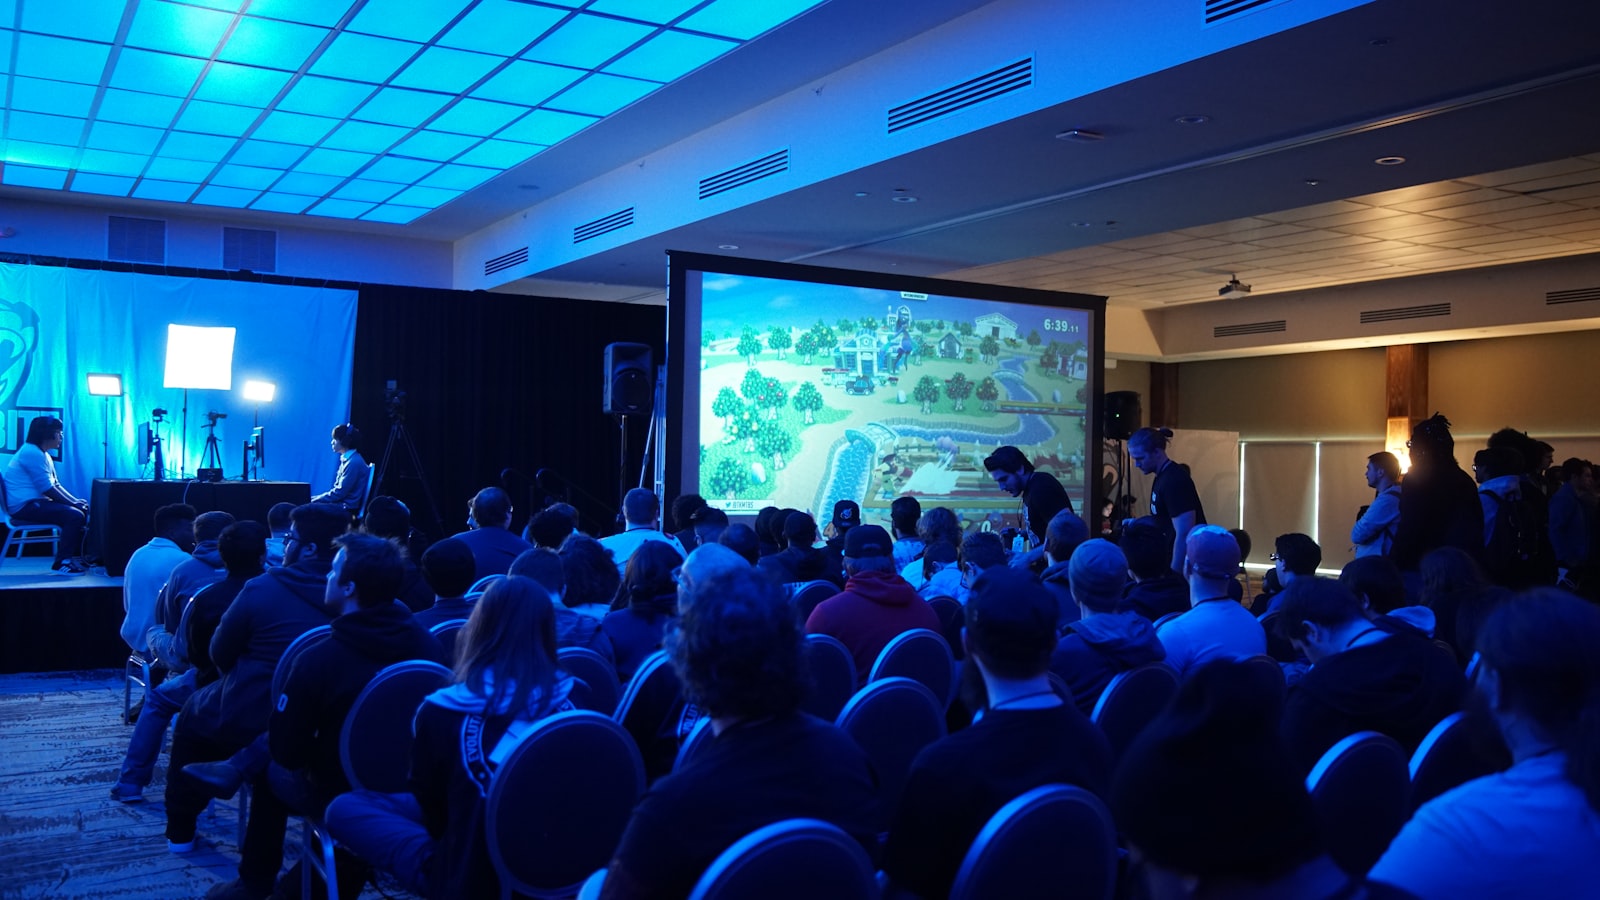
Every seat accounted for, nobody circling the room. This is the quiet dividend of a good seating chart. Caption credit: Stem List / Unsplash
Step 5: Handle tables and groups for galas and dinners
Dinners and galas add a wrinkle: people buy in groups and expect to sit together. Look for the ability to sell whole tables, assign a group to adjacent seats, and let a table buyer name their guests. This is the difference between a smooth banquet and a seating plan you rebuild by hand in a spreadsheet at 11pm. If galas are your thing, this feature list overlaps heavily with what makes charity and fundraising dinners run smoothly, so choose a platform that treats table management as a first-class feature rather than an afterthought.
Step 6: Test the buyer's-eye view before you go live
Before you announce, buy a test ticket yourself. Pick a seat, watch the hold appear, complete a checkout, and confirm the seat then shows as sold. Try it on a phone, because a fiddly seat map on a small screen sends buyers straight to the exit. Selecting a seat should feel obvious: tap the seat, see the price, confirm. If your test purchase is confusing, your attendees' will be worse.
Common reserved seating mistakes to avoid
A few traps catch first-timers. Building a chart that does not match the real room is the classic, and it surfaces at the worst moment, when a guest is standing on a seat that does not exist. Forgetting to hold back accessibility seating until after general sale is another, and it is not just inconvenient, it can leave you scrambling to reseat people who needed step-free access from the start. Setting seat-hold timeouts too long locks up premium inventory during a sales rush. And pricing every seat the same defeats the entire point: if you have gone to the trouble of assigning seats, price them to reflect the view.
One more honest note. Reserved seating adds setup time and only makes sense when seat location matters. For a standing gig or a free community night, it is overkill and GA will serve you better. Reach for reserved seating when you are running a banquet, a theatre-style show, an awards ceremony, or a premium conference where the front rows are worth more than the back. In those settings a platform that handles charts, tiers, holds and tables together, like eventcloud, turns a fiddly manual job into a few clicks, with your own Stripe account collecting the money and no per-ticket fee nibbling at each seat you sell.
Your reserved seating go-live checklist
Before you open sales, confirm the following: your seating chart matches the real room seat for seat; every section has a price tier assigned; seat holds are switched on with a sensible timeout; press, sponsor, accessibility and VIP seats are held back with expiry dates; table or group buying works if you need it; and you have completed a test purchase on both desktop and mobile. Tick all six and you can open sales knowing the map is honest, the money is yours, and nobody will be circling the ballroom at showtime.
Ready to draw your room and sell by the seat without per-ticket fees eating into premium tickets? See how eventcloud handles registration and seating, or check the flat-fee pricing.