A self-service event check-in kiosk is a screen (usually a tablet on a stand) that lets attendees check themselves in by scanning a QR code or searching their name, then prints their badge on the spot. Set one up properly and the human bottleneck at your front desk quietly disappears. Set it up badly and you have simply bought a very expensive way to make people queue at a screen instead of a person. This guide walks through the whole thing: the kit, the setup steps, the sensible defaults and the mistakes that turn a slick kiosk into a doorstop.
First, the reassuring maths. A single self-service kiosk can validate roughly 20-30 attendees per minute, which comfortably outpaces a friendly human with a printed list and a highlighter. The kiosk never needs a coffee break, never loses its place in the alphabet, and never has to ask someone to spell their surname three times.
Why self-service check-in kiosks beat the manned desk
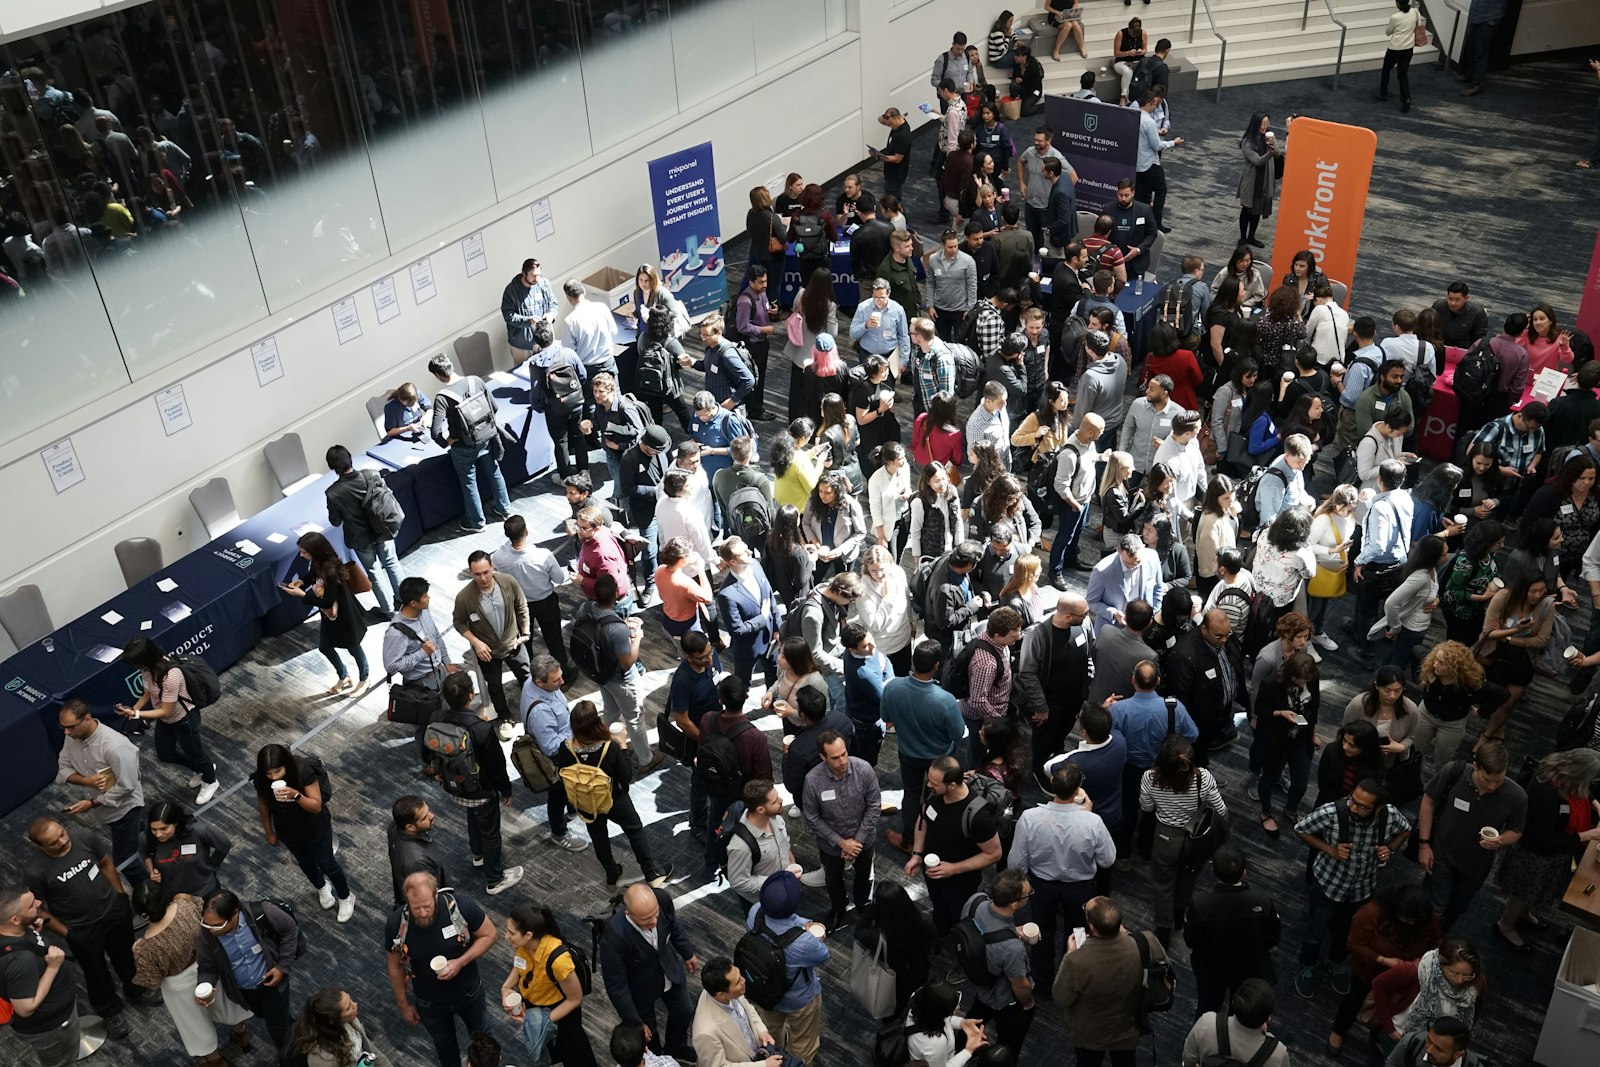
The classic front desk fails in a very specific way. Everyone arrives in the same 30 minute window, the queue builds, and each transaction is gated by a person typing, searching and rummaging through a box of pre-printed badges sorted by surname. The moment a name is filed under the wrong letter, the whole lane stalls.
Self-service check-in kiosks remove two of those choke points at once. Attendees do their own lookup, and badges print on demand rather than being fished out of an alphabetised box. That second point matters more than it sounds: on-demand printing means a late registration, a name change or a walk-up no longer breaks the system, because nothing was frozen in advance.
| Check-in method | Rough throughput | Main failure mode |
|---|---|---|
| Paper list and highlighter | 2-4 people per minute per lane | Human search speed, illegible ticks, lost pages |
| Manned desk with laptop | 4-8 people per minute per lane | Staff typing, alphabetised badge box |
| Self-service kiosk (scan only) | 20-30 people per minute per unit | Attendees who forgot their QR code |
| Self-service kiosk (registration station) | Slower, but handles walk-ups | People typing their own details |
The best kiosk is the one your attendees can use without looking for a member of staff. If they need a human to explain it, you have not removed the queue, you have relocated it.
What you actually need to set one up
You do not need a spaceship. A working self-service check-in kiosk is usually just four things: a tablet or touchscreen, a stand to hold it at a sensible height, a badge printer (a thermal printer is standard, because it needs no ink), and your check-in software running in kiosk mode. Setups range from plug-and-play kits that ship to your venue ready to go, all the way to DIY builds using tablets and printers you already own.
If you are pricing hardware, resist the urge to buy one giant super-kiosk. Two modest units clear a queue faster than one clever one, because throughput is about the number of parallel lanes, not the specification of a single machine. Rent or borrow where you can, and standardise on one printer model so your spare rolls and cables actually fit everything.
Scan-only or registration station?
Most kiosks should be set to scan only. That is the fast lane: attendee scans the QR code from their confirmation email, the system pulls their record, the badge prints, done. Designate one or two units as registration stations, where a walk-in can type their details, pay if needed, and print a badge instantly. Keeping these roles separate stops a single slow walk-up from clogging the lane that 500 pre-registered people are trying to use.
The setup checklist, in order
Here is the running order that keeps the day-of stress low.
Connect your kiosk software to your registration data so the attendee list is live, not a stale export. If check-in and registration share one record, a person who signs up an hour before doors still appears at the kiosk.
Design the badge once. The clever move is a hybrid: pre-print the badge shells with your logo and sponsor branding, then print the attendee name and QR code on the day. You get a professional badge without freezing the guest list a week early.
Set most units to scan only and one or two to registration station. Label them clearly so the crowd self-sorts.
Test the QR scan with a real confirmation email on a real phone, including one with the brightness turned down and a cracked screen protector, because that is what actually turns up.
Load spare paper rolls and a spare printer. Thermal printers are reliable right up until the roll runs out mid-rush.
Put a couple of staff on standby. Not behind a desk, but roaming, ready to help the one person in fifty who is stuck. Human help should be the exception, not the process.
That last point is the one people skip. A self-service kiosk is not a "fire the staff" device. It is a "free your staff from data entry so they can handle exceptions" device. The person whose name is spelled differently on their passport, the delegate who bought under their company name, the VIP who wants a word: those need a human. The other 95 percent just need a screen that works.
Check Guests In Before the Queue Forms
QR scanning, instant badge printing and live arrival stats, run from any phone or tablet on the door.
Common ways a kiosk day goes sideways
A few classics, so you can dodge them. Placing the kiosks too close to the door creates a scrum where the queue and the just-checked-in crowd collide, so give the machines some runway and a clear exit path. Relying on venue wifi that you have not tested is a bold move; a kiosk that loses its connection mid-morning is just a mirror. And printing badges people cannot read from two metres away defeats the point, because the whole reason for a badge is that a human across the room can see who they are talking to.
The deepest trap is data that lives in two places. If your kiosk pulls from a spreadsheet exported last night, every late change is invisible, and you are back to a member of staff manually adding people. The fix is structural: check-in should read and write the same attendee record as registration, so what happens at the door updates the same database your reports run on. That is the difference between a kiosk that reduces work and one that just moves it downstream. It is also why choosing a platform where check-in, registration and reporting are one system (rather than three bolted together) quietly saves you a miserable Monday morning of reconciliation.
The dream: attendee scans, badge prints, nobody makes eye contact with a clipboard. Credit: Walls.io / Pexels
When a kiosk is overkill
Honesty policy: not every event needs one. A 40 person workshop where you know everyone by name does not need a kiosk, it needs a warm hello and a table of name tags. Self-service check-in earns its keep when volume and arrival clustering start to hurt: think a few hundred people upward, arriving in a tight window, where the queue itself becomes the first impression. Below that, the kit is a solution looking for a problem.
If you are in kiosk territory, the platform underneath matters more than the tablet on top. You want live registration data, on-demand badge printing, and a check-in flow that feeds the same record as everything else. You can see how eventcloud handles that on the check-in feature page and the wider product overview, and if fast badges are your main worry, the badge printing page covers the on-demand approach in more detail. Get the plumbing right, and the kiosk is just the friendly face on top of it.