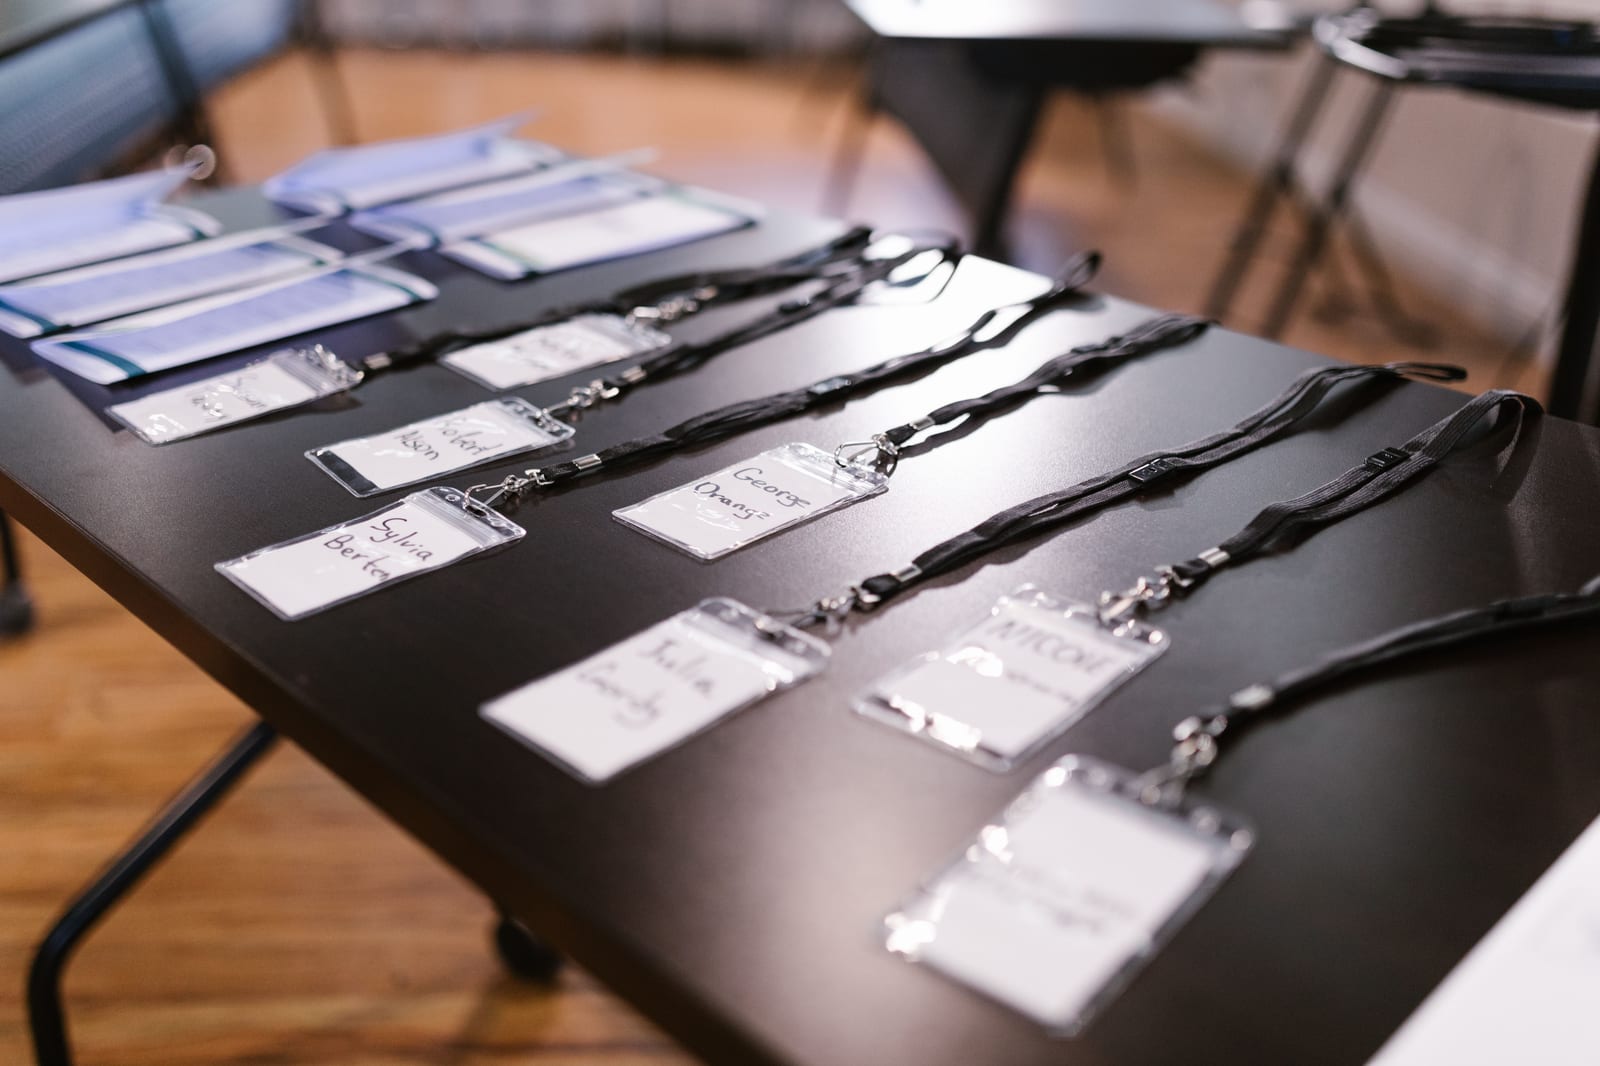
Most check-in disasters are not caused by bad software. They are caused by nobody testing anything until the doors open. This pre-event check-in setup checklist is the boring, unglamorous prep that turns a 40-minute entry scrum into a two-minute walk-through: the devices, the offline plan, the number of lanes, the staff brief and the one test scan that saves your evening. Work through it the week before, not the morning of.
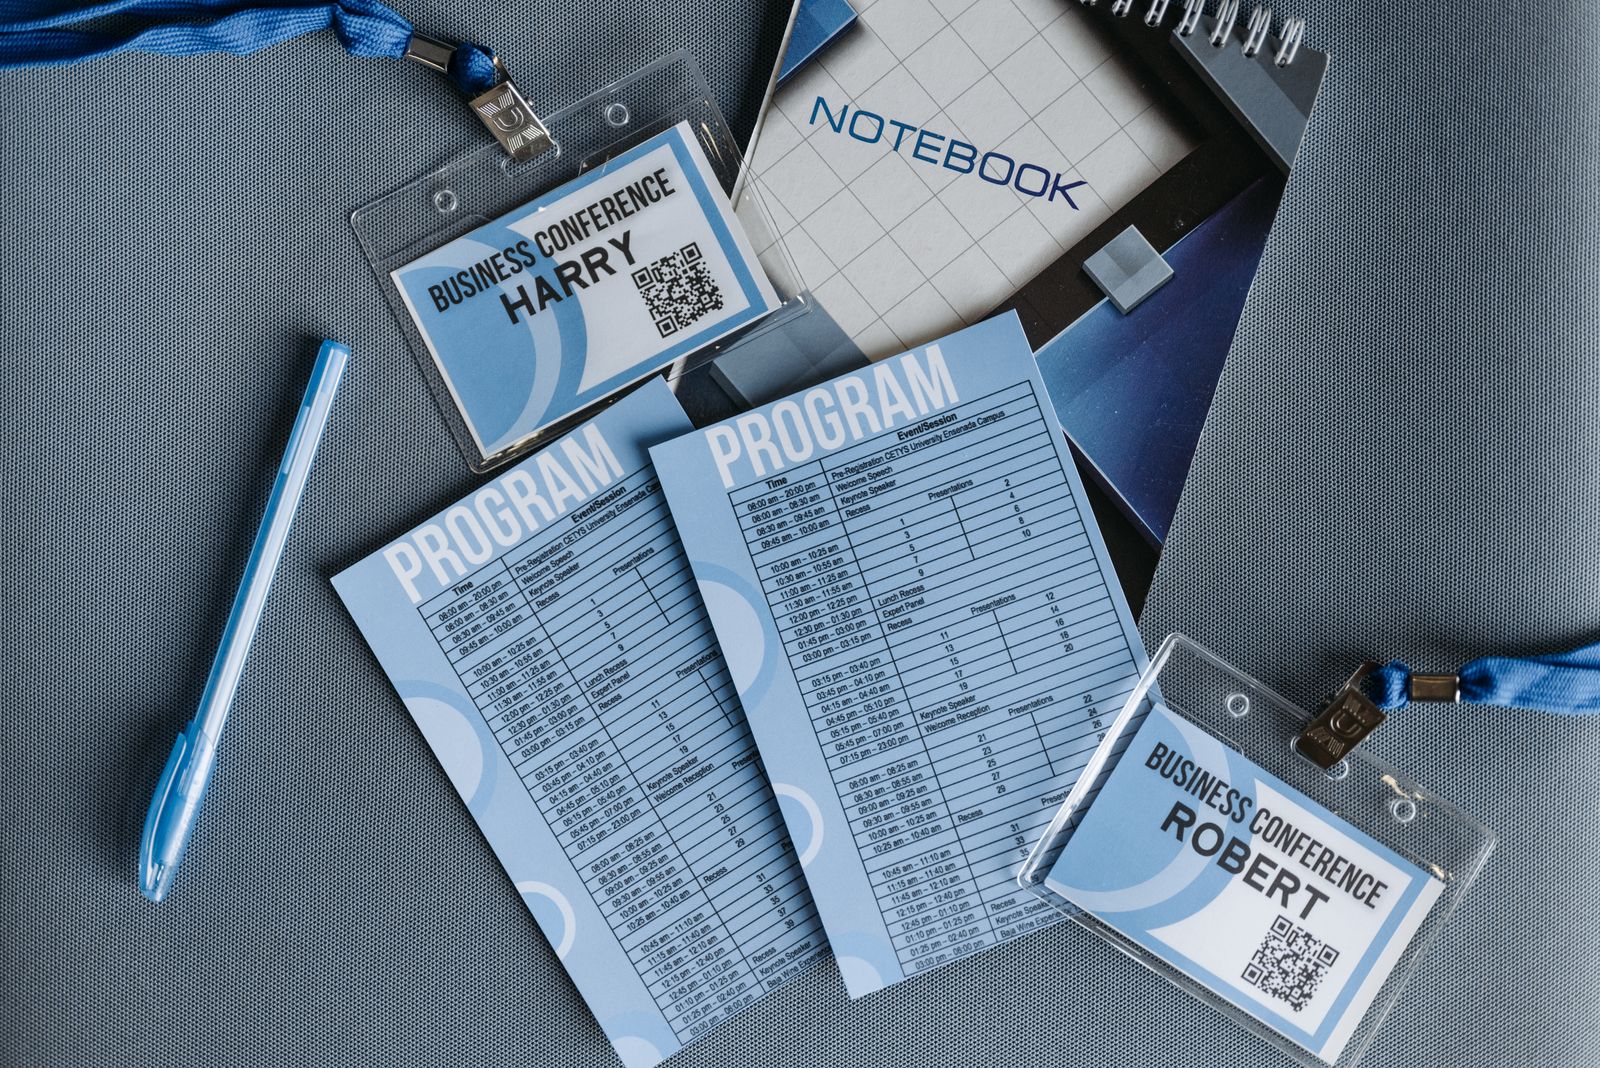
Everything laid out and tested the day before. This is what a calm door looks like at 8am. Credit: Pavel Danilyuk / Pexels
Start the check-in setup checklist with the maths
Before you think about devices, work out how many lanes you actually need, because guessing is how queues form. The rule of thumb from door-flow planners is roughly 5 scans per minute per lane as a safe planning baseline, even though a smooth scanner can hit 15 to 20 in ideal conditions (Tickera). Crucially, you plan from your busiest arrival window, not your total headcount.
A commonly cited example: a 1,000-person event with a 30-minute arrival crush needs at least three to four scanning stations to avoid a line, and a 2,000-person event with 1,400 people arriving inside 45 minutes needs about seven lanes (Cvent). Here is the quick version.
| Peak arrivals | Arrival window | Lanes needed (approx) |
|---|---|---|
| 500 | 30 minutes | 2 to 3 |
| 1,000 | 30 minutes | 3 to 4 |
| 1,400 | 45 minutes | 7 |
| 2,000 | 60 minutes | 7 to 8 |
Round up. A spare lane costs you one more device and one more volunteer. A missing lane costs you a queue out the door and a first impression you cannot take back.
One nuance the maths hides: arrivals are almost never evenly spread across the window. For an event with a set start time, the crowd clusters in the final fifteen minutes before the headline moment, so your real peak can be double the average rate you calculated. If your event has a hard start (a keynote, a first course, a ceremony), plan your lanes for that fifteen-minute crush rather than the tidy average, and consider opening the doors earlier to flatten the spike. A door that opens thirty minutes before the start with a small incentive to arrive early (a drink, a goodie bag, good coffee) will do more for your queue than an extra scanner ever could.
Devices and connectivity: the part everyone underestimates
Your scanning is only as reliable as the venue's signal, which is to say: assume it will fail at the worst moment. The checklist here is short but non-negotiable.
Charge everything, then bring power. Every scanning device at 100% before doors, plus battery packs or a powered station. A dead phone is a closed lane.
Test the venue Wi-Fi at the actual door, not from the office. Signal at the registration desk is what matters, and it is often weakest exactly where the crowd is densest.
Confirm offline mode works. Your check-in tool should scan and validate tickets even if the connection drops, then sync when it comes back. Test this by putting a device in aeroplane mode and scanning a real ticket.
Have spare devices. One backup phone or scanner per few lanes. Things break; the show does not stop.
The venue Wi-Fi will let you down at 6:58pm. Plan as if that is a certainty, because roughly every event it is.
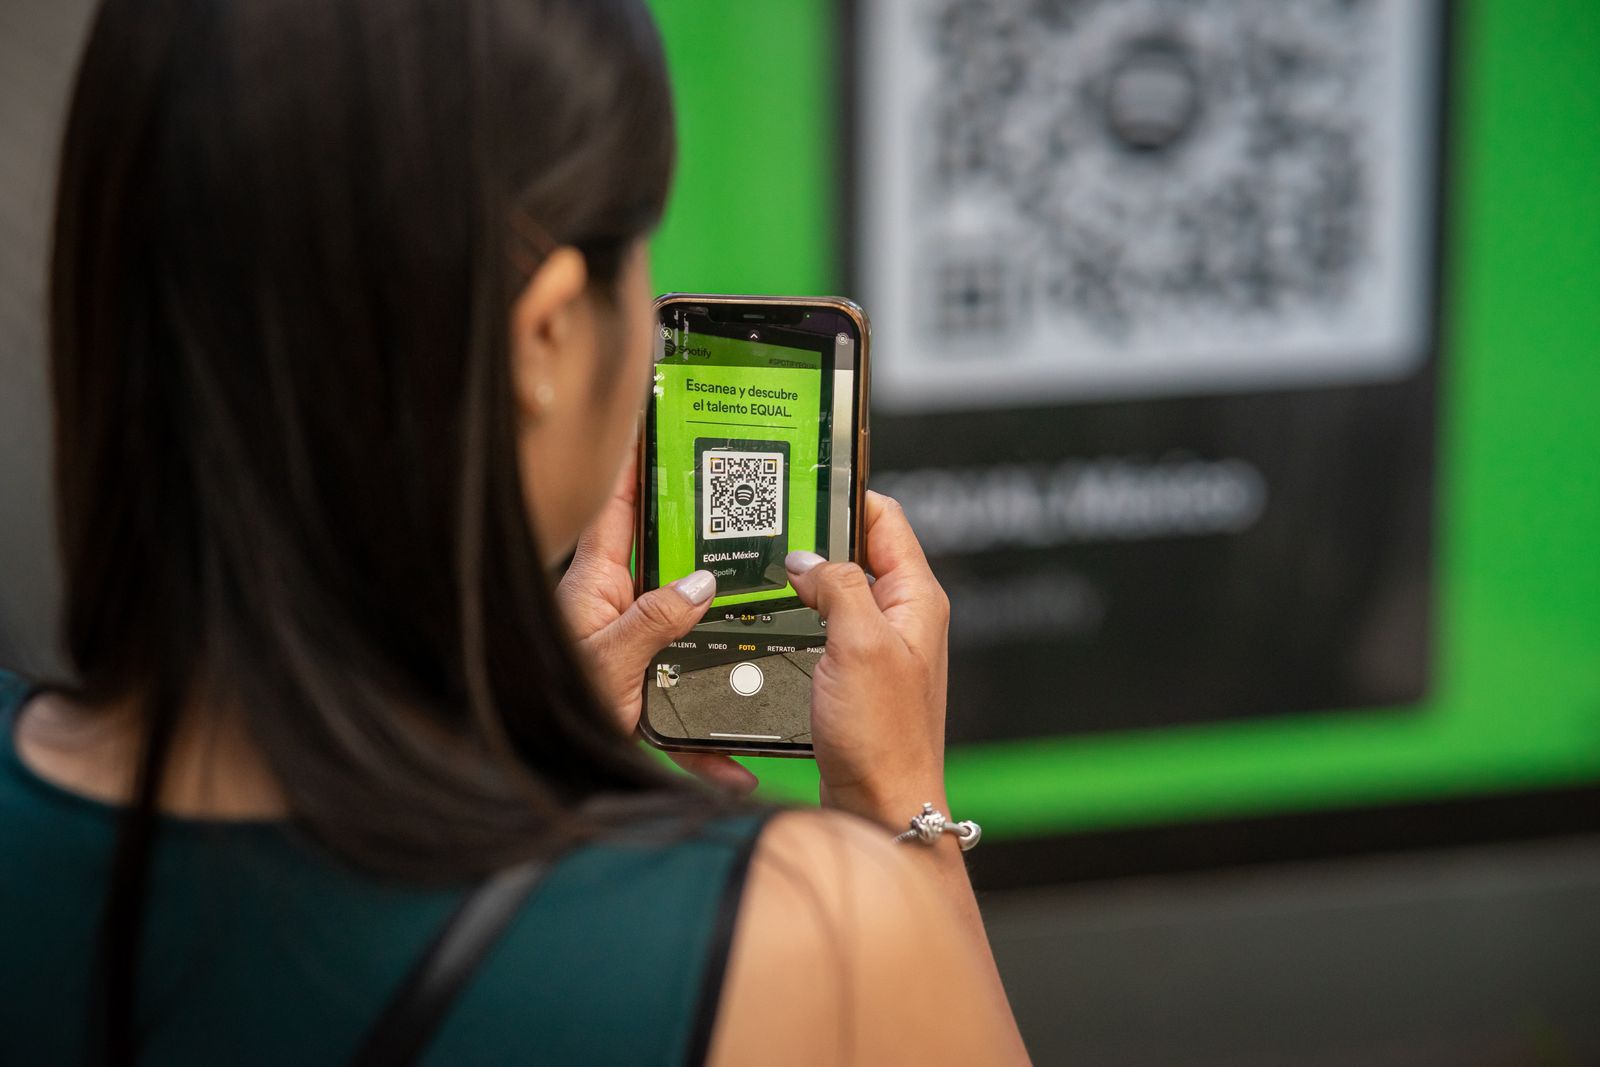
Two attempts, then move them to the resolution desk. Never troubleshoot at the front of the lane. Credit: Julio Lopez / Pexels
The lane layout and the resolution desk
How you arrange the door matters as much as how many lanes you have. Two rules do most of the work.
Split the flow before people reach the scanner. Clear signage for pre-registered, walk-up and VIP sends people to the right queue before they arrive at the desk, which keeps each lane moving at its own pace (Cvent).
Check Guests In Before the Queue Forms
QR scanning, instant badge printing and live arrival stats, run from any phone or tablet on the door.
Never troubleshoot at the front of a lane. The single biggest cause of a stalled door is one confused guest holding up a hundred behind them. The fix is a rule: the scanner tries twice, and if the ticket will not resolve, that guest is sent to a separate resolution desk where a staff member can look them up by name or order number. One stuck guest should cost thirty seconds, not thirty minutes.
Position the resolution desk slightly to the side and clearly signed, so a redirected guest walks a few steps rather than milling around the scanning lanes and adding to the crush. Stock it with whatever your specific edge cases need: a laptop or tablet that can search the full attendee list, a way to reissue or reprint a ticket, a small float if you are still taking any payment on the door, and a friendly person who will not make the guest feel like a criminal for having a flat phone. Most door problems are boring and fixable in under a minute once they are off the main lane and in front of someone who can actually look things up.
The staff brief
Your volunteers will be fine if they know four things before the first guest arrives. Skip this and even good software gets used badly.
How to scan. Where to point, what a valid scan looks and sounds like, and what a duplicate or invalid scan looks like.
The two-attempt rule. Try twice, then hand off to the resolution desk. Do not debug at the lane.
What to do offline. How to confirm the tool is still validating when the signal drops, and not to panic when the sync indicator lags.
Who to call. One named person who owns check-in and can make decisions, so nobody is left guessing at the door.
The one test scan that saves the night
Do this and you will catch almost every setup problem while there is still time to fix it. The day before, or at minimum two hours before doors: issue yourself a real ticket, open it on a phone the way a genuine attendee would, and scan it through the actual devices on the actual venue connection. Then scan it again to confirm it flags as already used. That single dry run tests your ticket format, your devices, your signal, your offline handling and your duplicate detection in one go.
A quick scan is only quick when the guest is primed, too. With a digital ticket open and screen brightness up, a scan takes roughly 6 to 10 seconds; a guest fumbling for an email in a dark inbox takes far longer (vFairs). A line in your confirmation email telling people to have their QR ready pays for itself at the door.
The full pre-event check-in setup checklist
Lanes calculated from your peak arrival window, then rounded up.
All devices charged to full, with backup power and spare devices on hand.
Venue Wi-Fi tested at the door; offline mode confirmed with a real scan in aeroplane mode.
Signage splitting pre-registered, walk-up and VIP before the scanners.
A resolution desk set up away from the lanes, staffed by someone who can look guests up.
Staff briefed on scanning, the two-attempt rule, offline behaviour and who owns check-in.
One full test scan completed end to end, including a duplicate re-scan.
Confirmation email reminding attendees to have their QR code ready.
None of this is difficult. It is just easy to skip, and the cost of skipping it is paid in public, at the door, by the people you most want to impress. If you want check-in that scans fast and keeps working when the venue Wi-Fi does not, see how eventcloud's check-in handles the door, or read our guide to why check-in queues form and how to clear them.